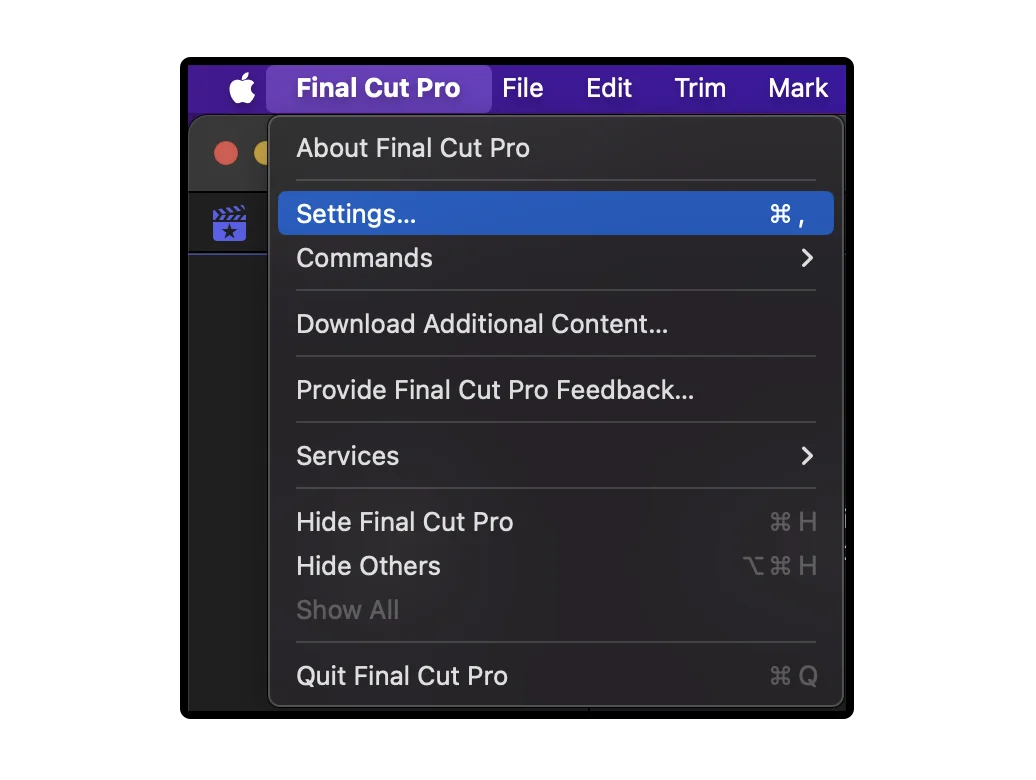
Today in Final Cut Pro, I’m going to show you Seven Settings that you should change right now. To change these settings, we’ll go on up to Final Cut Pro and select settings.
01 Color Wheels
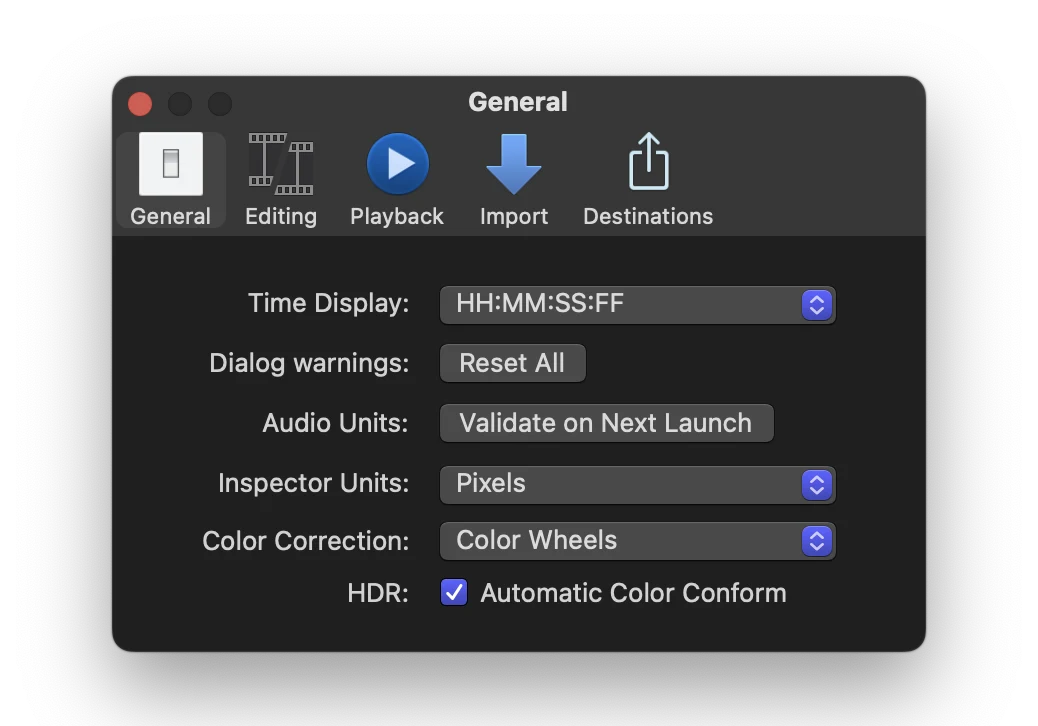
The first setting you should change is found in the general tab. And that’s at the bottom here under Color Correction. By default, it is set to Color Board. I strongly suggest that you change this over to something like Color Wheels, Color Curves, Hue Saturation curves, or the color adjustments that were just added in Final Cut Pro 10.6.6. What this does is when we select a clip up in the top right, we can select the color inspector, and rather than be greeted by the color board, we will be greeted by the color wheels. I use the color wheels far more than I use the color board, so I find this saves me an extra step from needing to click on this down arrow and then select Color Wheels.
02 Position Playhead
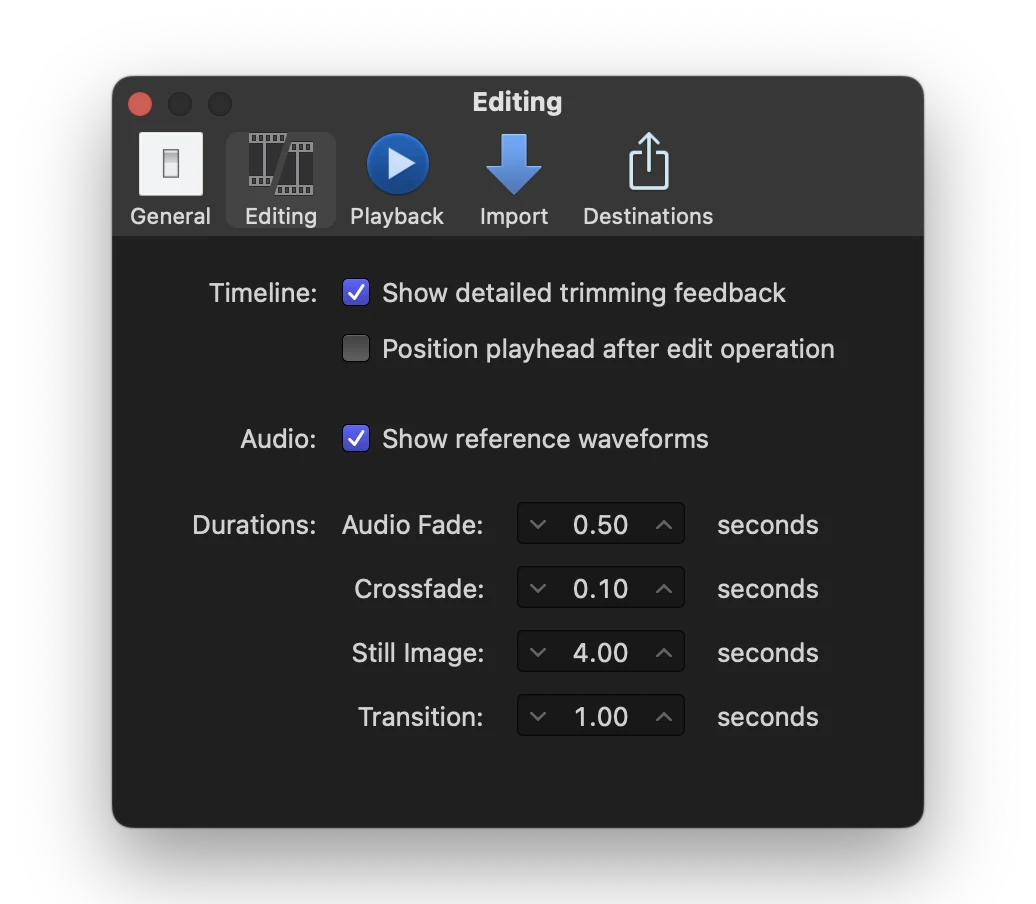
The next setting you should change is found in the editing panel. If we go down, you’ll see there is this position playhead after edit operation. I strongly suggest that you disable this by default it is enabled and if I push control T, watch the playhead. You’ll notice that the playhead has moved over to the end of the title. And I find this really frustrating because always I want to preview whatever change I’ve just made. So I’ll go ahead and disable position playhead after edit operation. And now if I push control T, you’ll notice that the playhead has stayed at the beginning of the title, which means that I can go ahead and just push play. The clip will play out and I can see how my title looks on the timeline. This is also helpful if you copy and paste a clip, because I can push command C, option V to paste it up above everything, and the playhead will stay at the beginning again, allowing me to preview it after I have just completed that operation.
03 Show Reference Waveforms
The next option you should change is under audio in the editing panel. By default, show reference waveforms is going to be disabled, so I strongly suggest that you go ahead and enable this. If I take a look at my timeline and I drop these waveforms all the way down to zero, you’ll notice this faint outline of the original waveforms there. What this option enables you to do is to see the shape of the waveforms, regardless of the volume of the waveforms, which makes it really easy to edit by using the waveforms, even if you don’t have any volume in that specific clip.
04 Background Rendering
The next setting you should change is rendering. By default, it allows background rendering, and while this can help with performance, it means that your projects can get absolutely massive in scale because Final Cut Pro is going to be creating Apple ProRes 422 versions of your video in the background constantly whenever you stop editing. So by disabling, this gives you the power to choose when you want to render. If you see on your timeline that you need to render out a specific portion with this dotted line, and you have poor playback there, then you can select that clip and then push control R that will force Final Cut Pro to render it. Then you can play back. This is going to give you full control over how much storage Final Cut Pro is taking up on your hard drive.
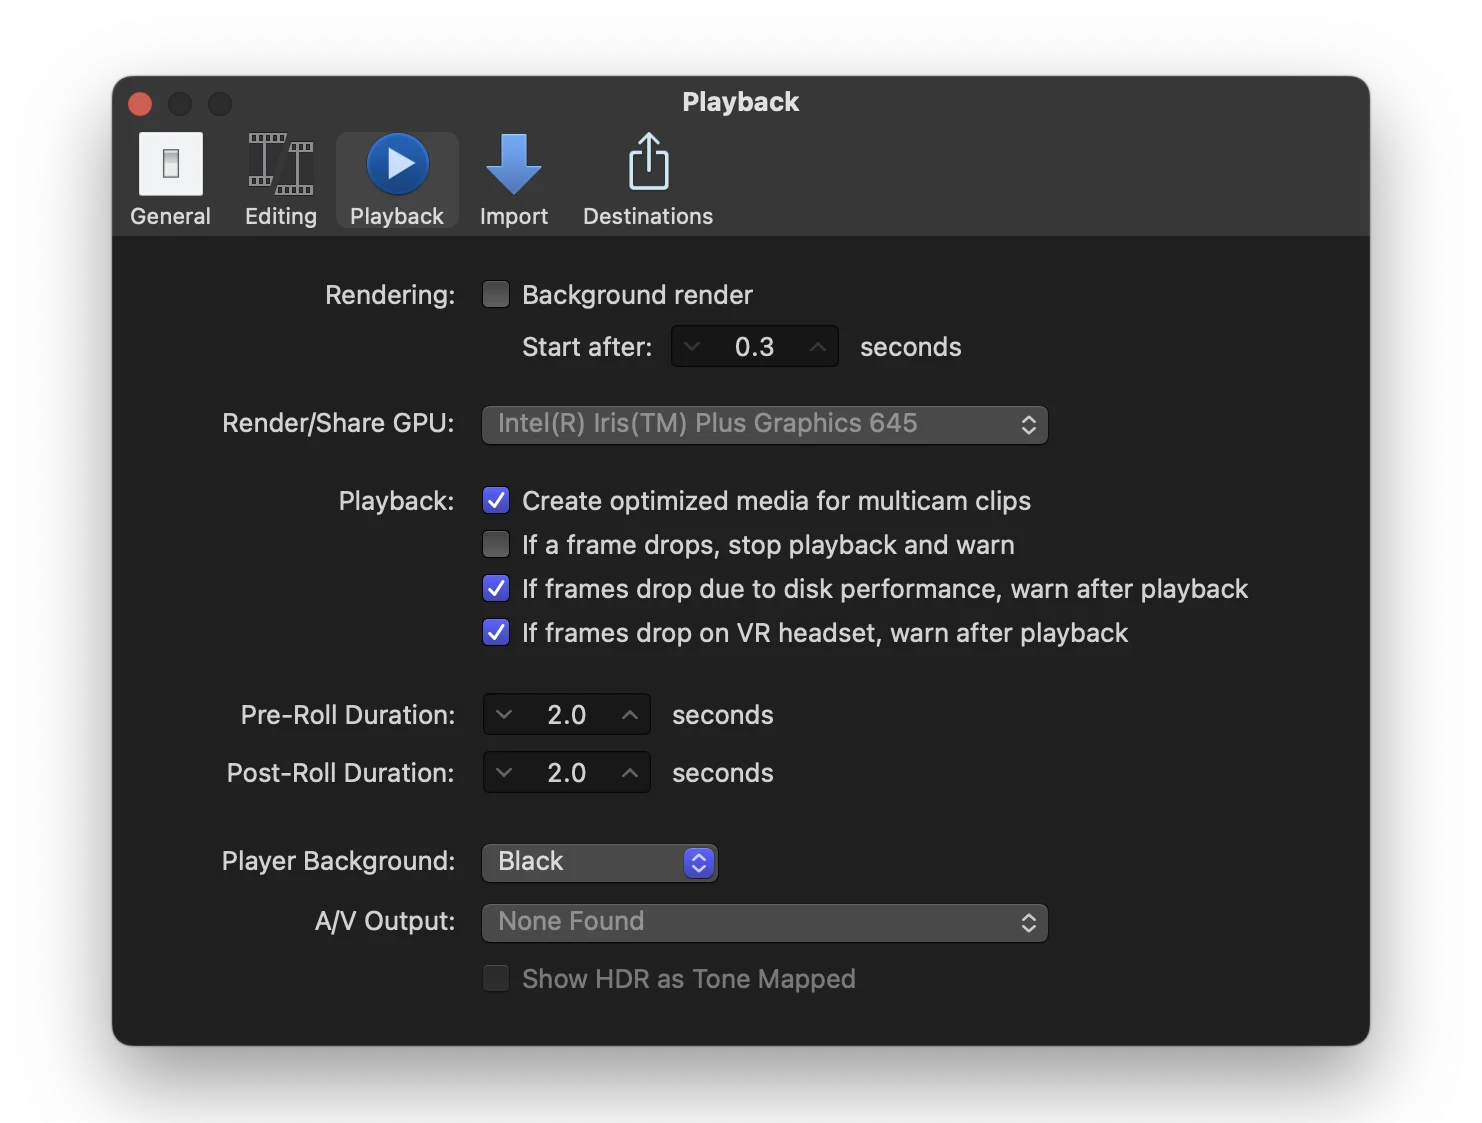
05 Create Optimized Media
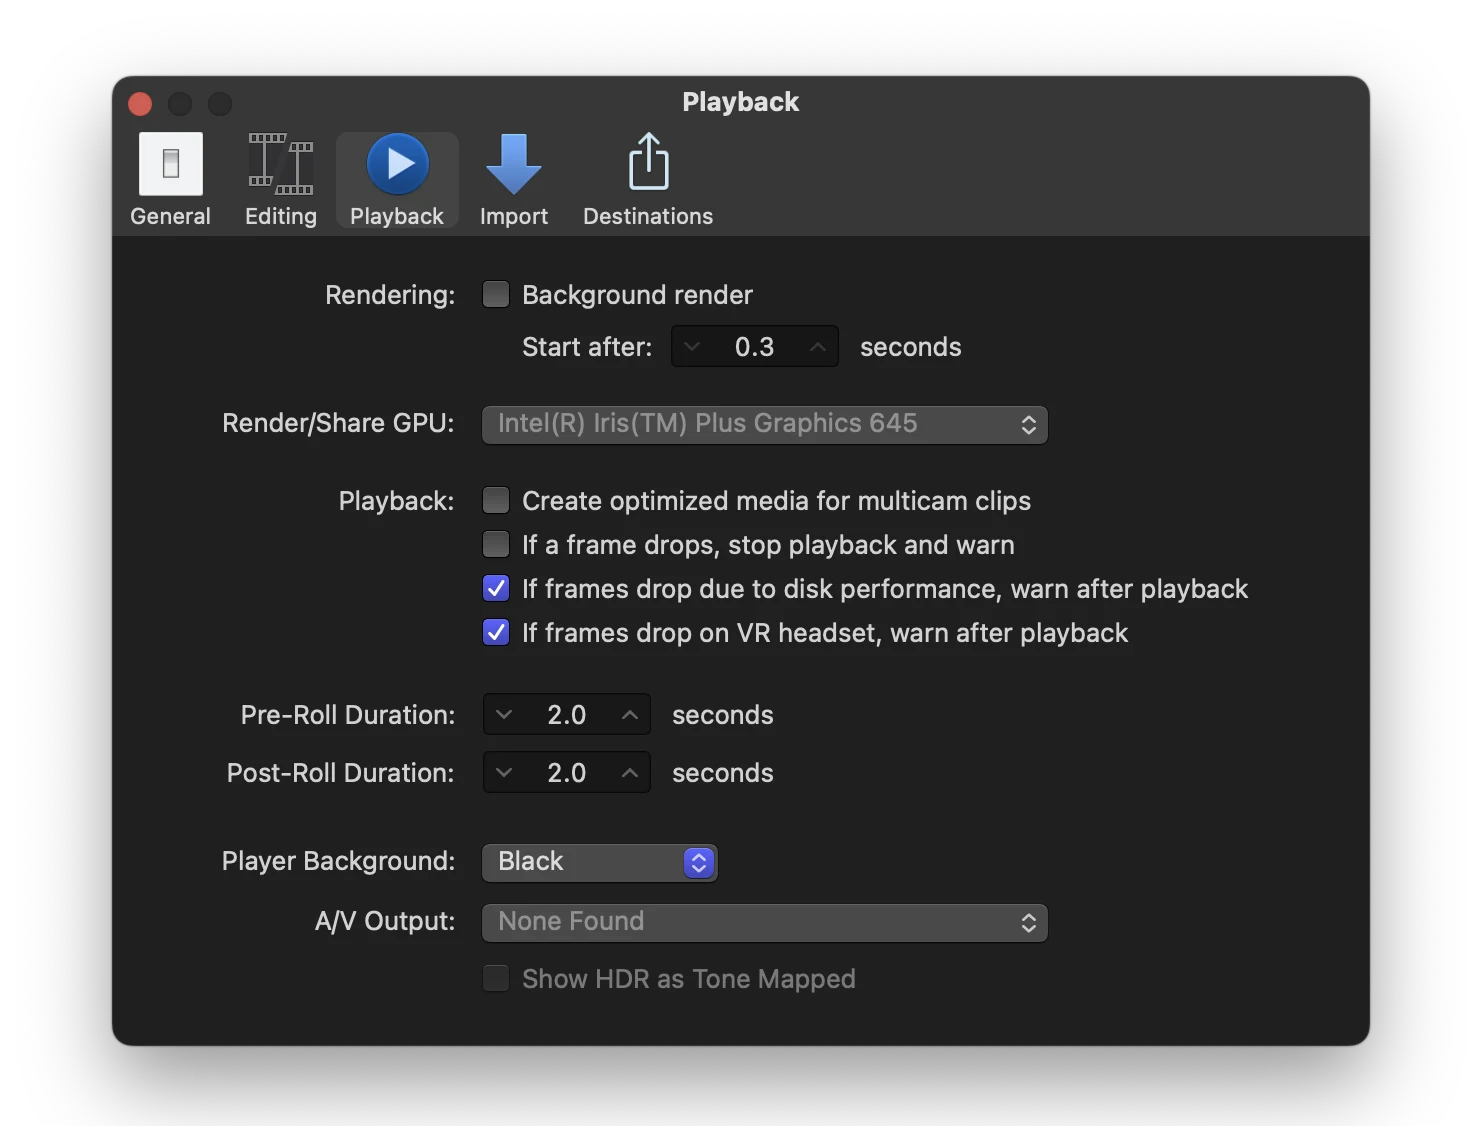
The next setting that I would take a look at is under the playback section. Right now it is checked for Create Optimized Media for multicam. I strongly recommend that you disable this because let’s say you have a project with four 4K clips in a multicam edit, Final Cut Pro is going to automatically optimize that media, creating Apple ProRes 422 files. A single video stream for an entire hour is going to equal 424GB of space, so if you have four of them for an entire hour, that is well over a terabyte of space, you are taking up with the optimized media. By disabling this, it gives you the option of creating that optimized media if you need it.
But first, you can check the performance of your clip before generating the optimized media. So you can go ahead and right click on any clip that you want to optimize, go down to transcode media. Then you can go ahead and select Create Optimized Media.
06 Optimized Media and Proxy Media
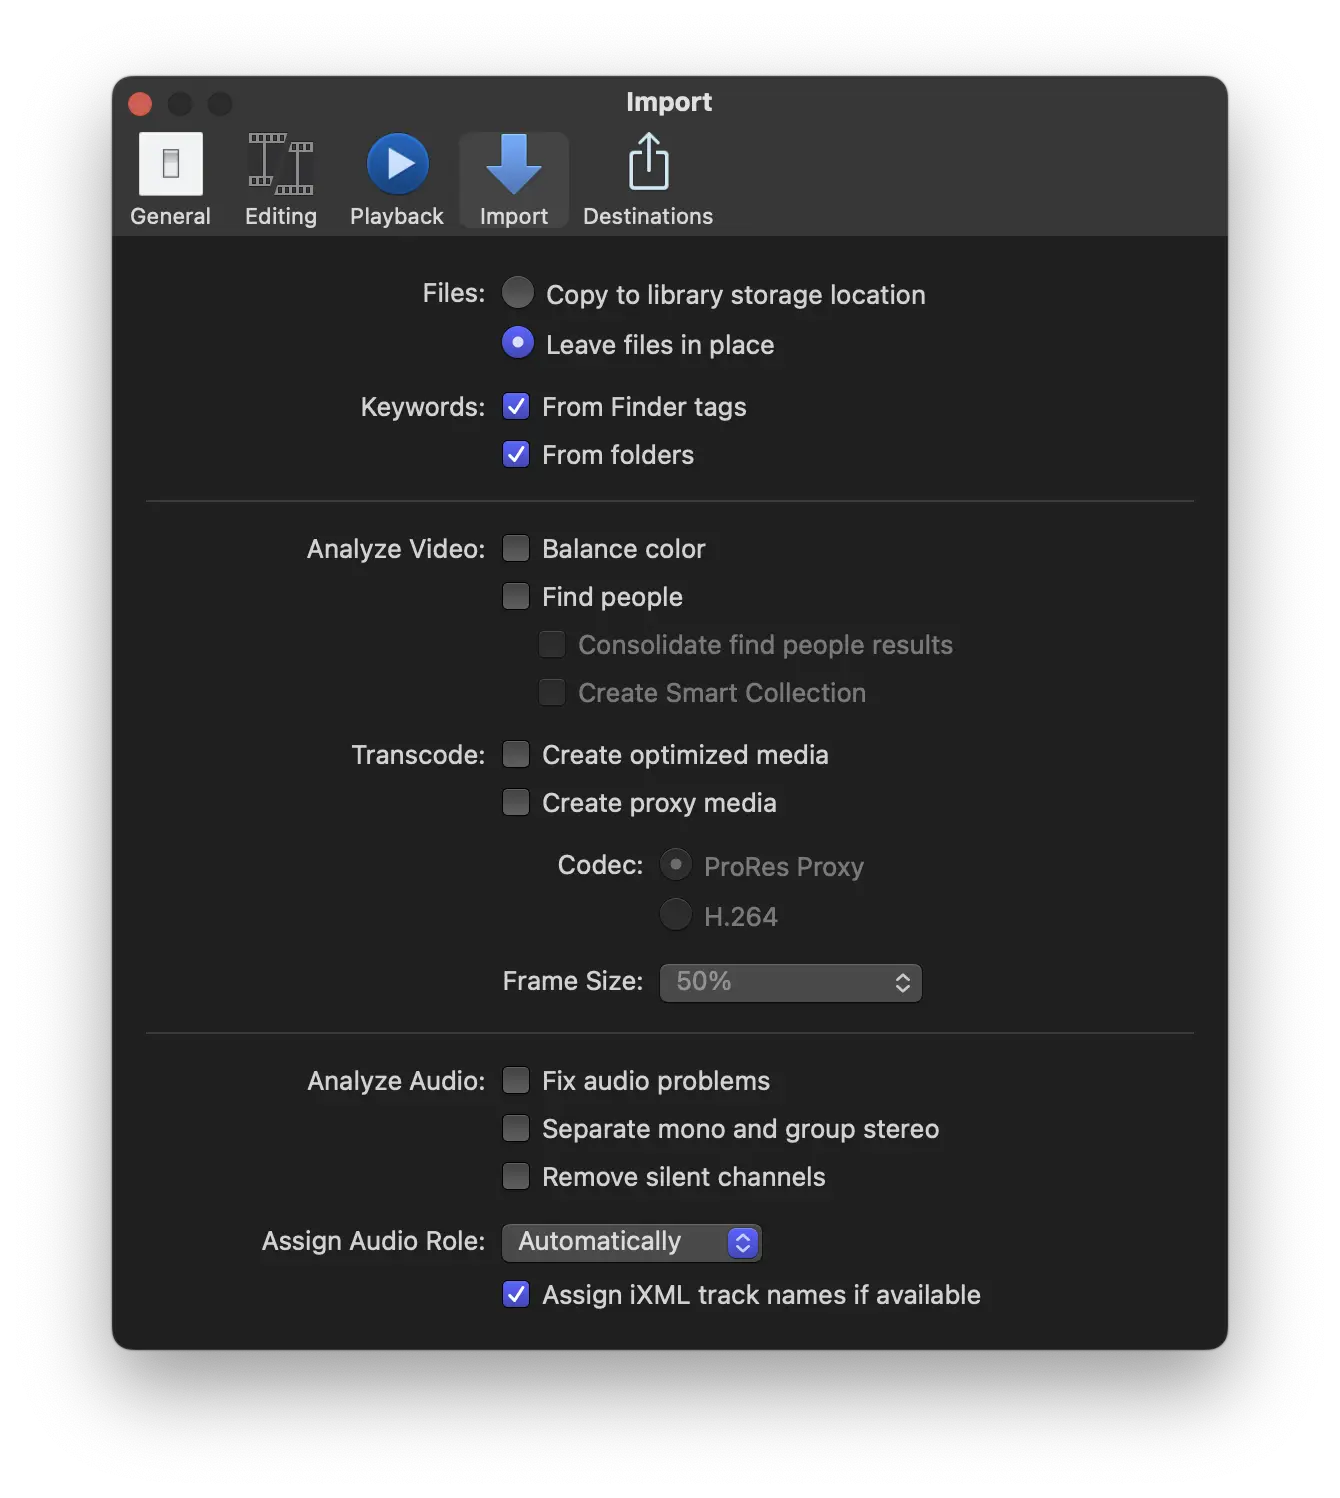
The next settings I would change are in your import panel. I would go down and disable Create Optimized Media and create proxy media. This goes back to the previous issue I was discussing where these files can get completely out of hand and take up all of the storage on your computer without you even knowing it, so by disabling it, you have full control over when these files are generated, and that means you are completely aware of why your projects are getting so large.
07 Expend the Inspector
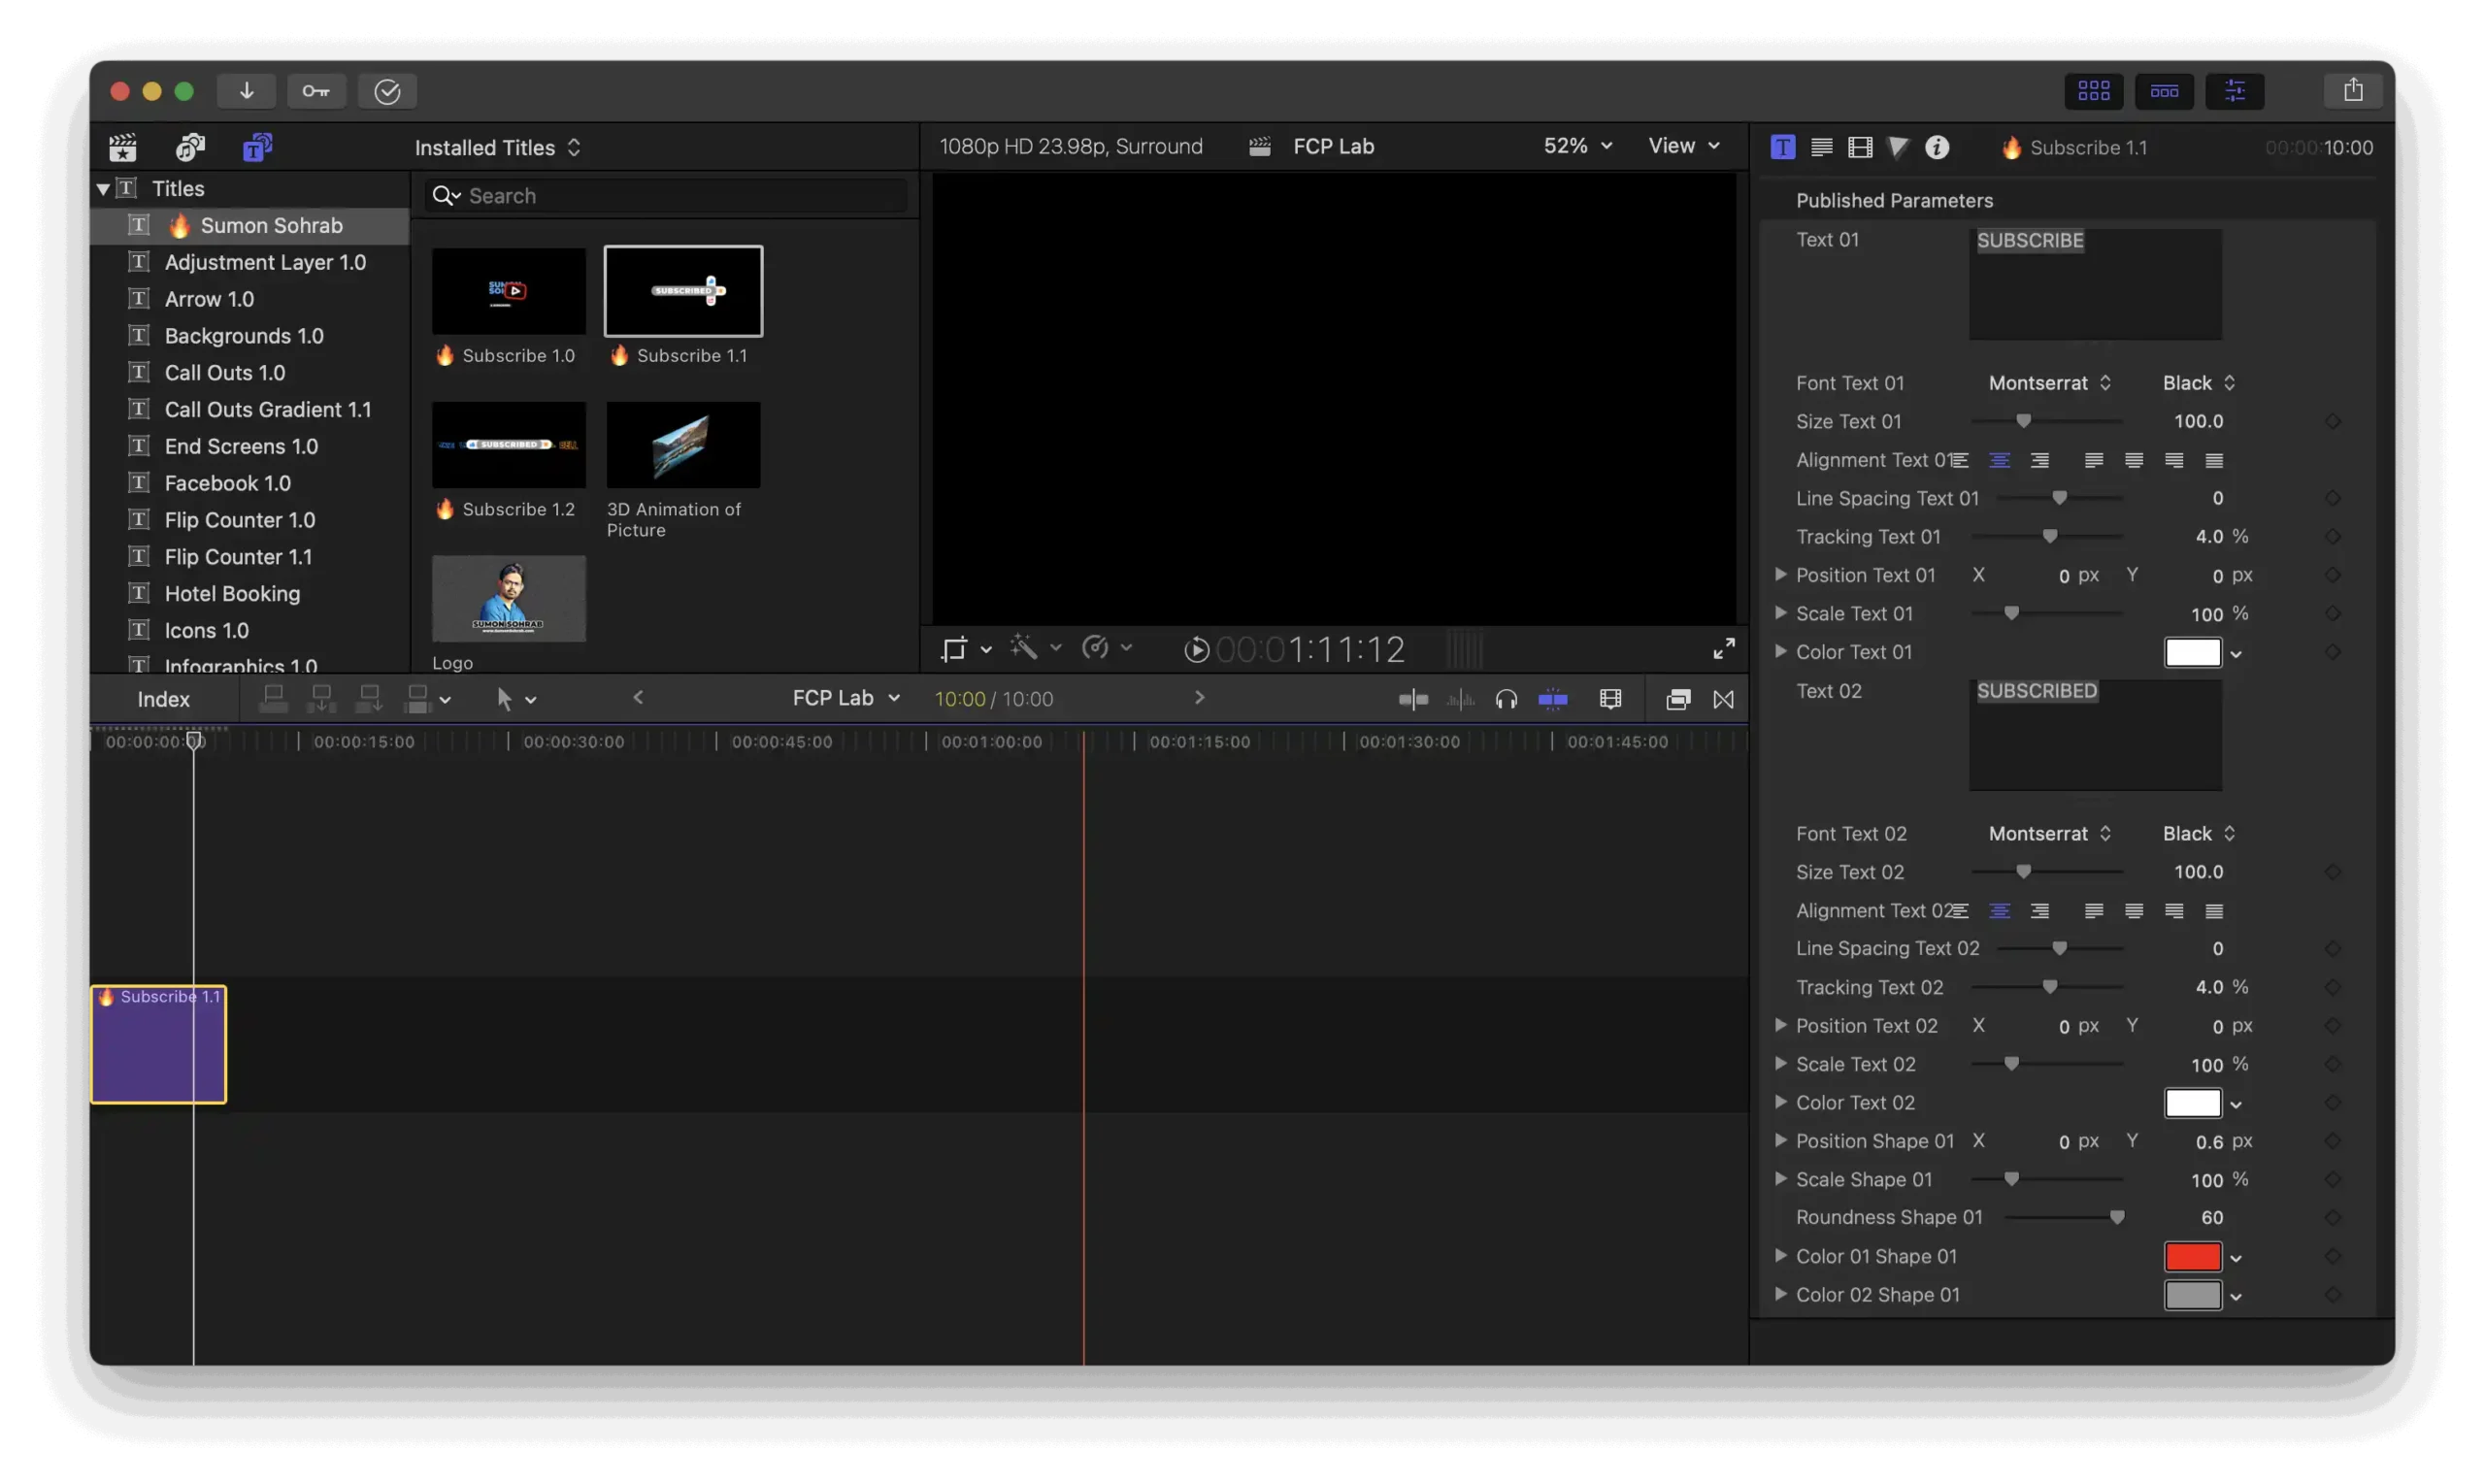
The next setting is a circumstantial one. Sometimes you need to see far more settings than what are provided in Final Cut Pro in this tiny little window, so if you need to expand this, you can go up to the top and find this gray bar. Double click on that and that will allow you to toggle the inspector height. You’ll notice I have way more real estate to work with. I can see all of my settings at once, but then if I’m not working with a lot of different effects and I want to clean it up so I can see more of my timeline, I can again double-click on that bar and that will hide it, thus giving me more space in my timeline.
If this article was helpful to you in any way, consider sharing this article. Thanks


