As video editors. We all know the struggle. Telling a compelling visual story is not an easy task. It’s a journey full of obstacles, doubts, and sacrifices. But if you’ve done this long enough, then you also know the feeling of clicking that upload button and completing a project. It’s a rewarding feeling, unlike any other feeling out there.
So I’ve been editing for 5 years now, and over those years of going through this process, many times, I’ve refined my overall workflow in a lot of ways that have made me a drastically faster editor and have also made the editing process a lot more fun and enjoyable for me.
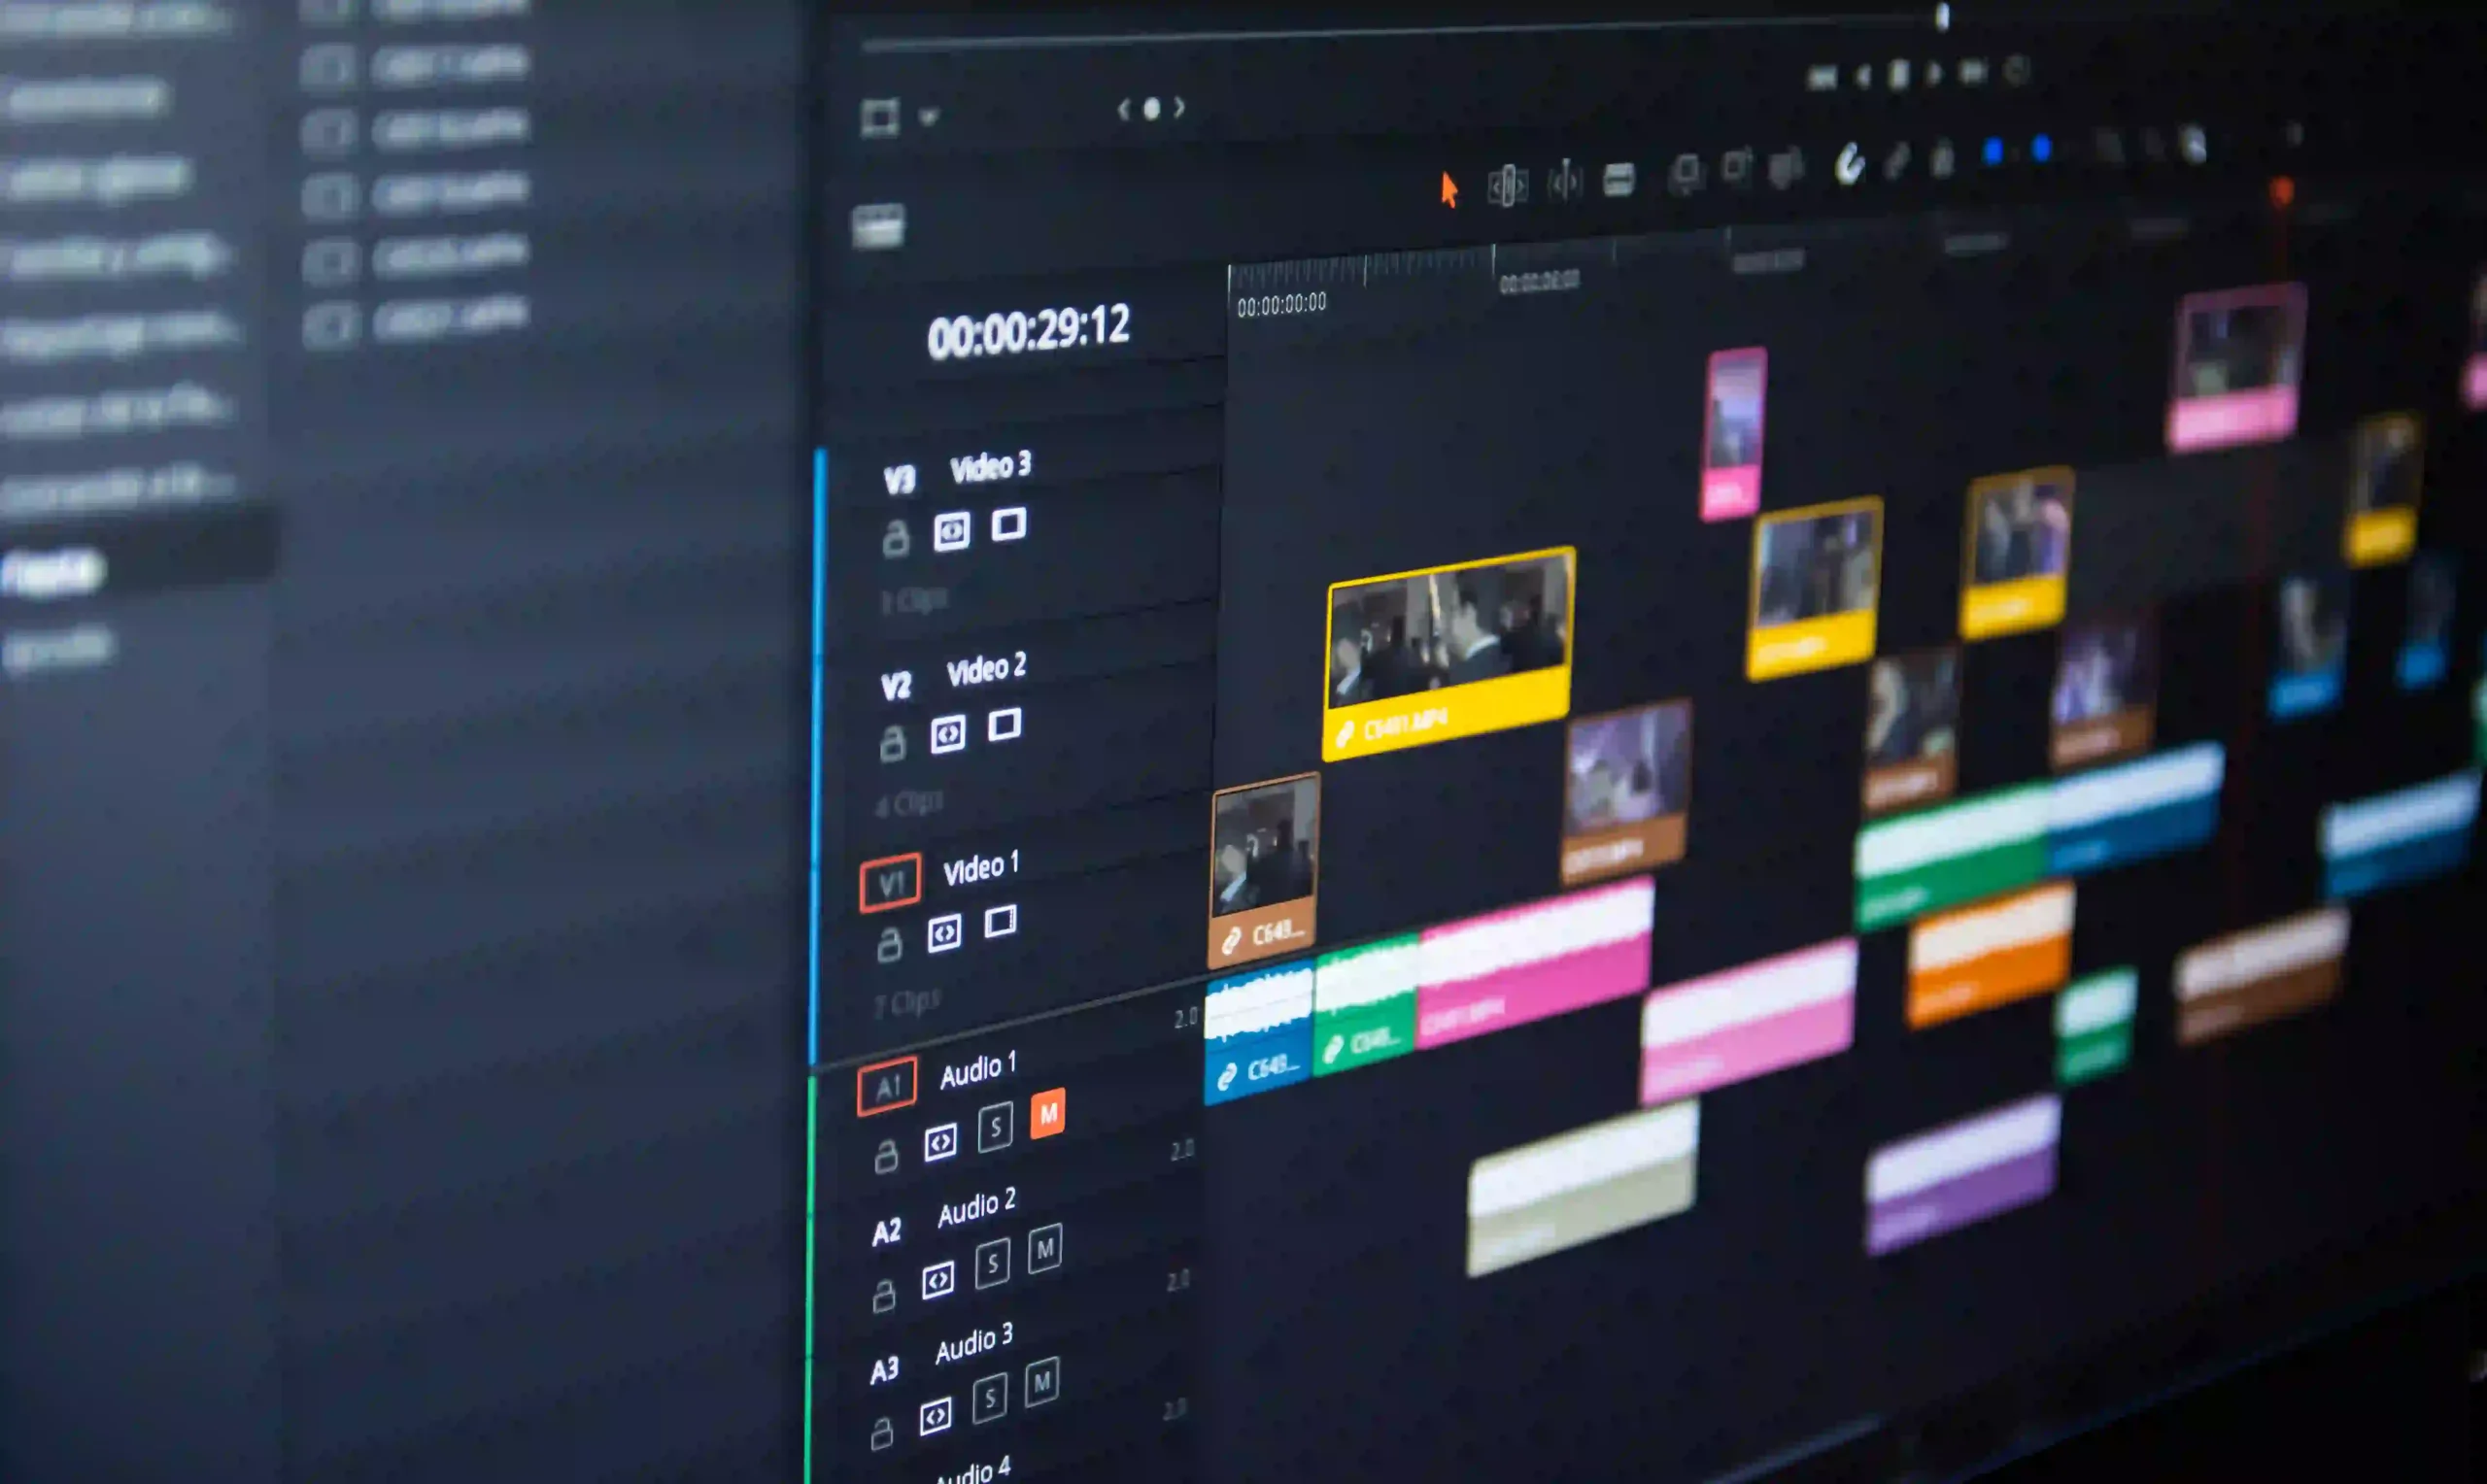
So in this article, I’m going to be sharing some of my favorite tips and shortcuts, in no particular order to hopefully also improve your overall workflow and help you make better videos. Although my main video editing software is DaVinci Resolve, these are all tips and shortcuts that can also be used in Premiere Pro and Final Cut Pro as well. So let’s get right into it.
Large Monitor
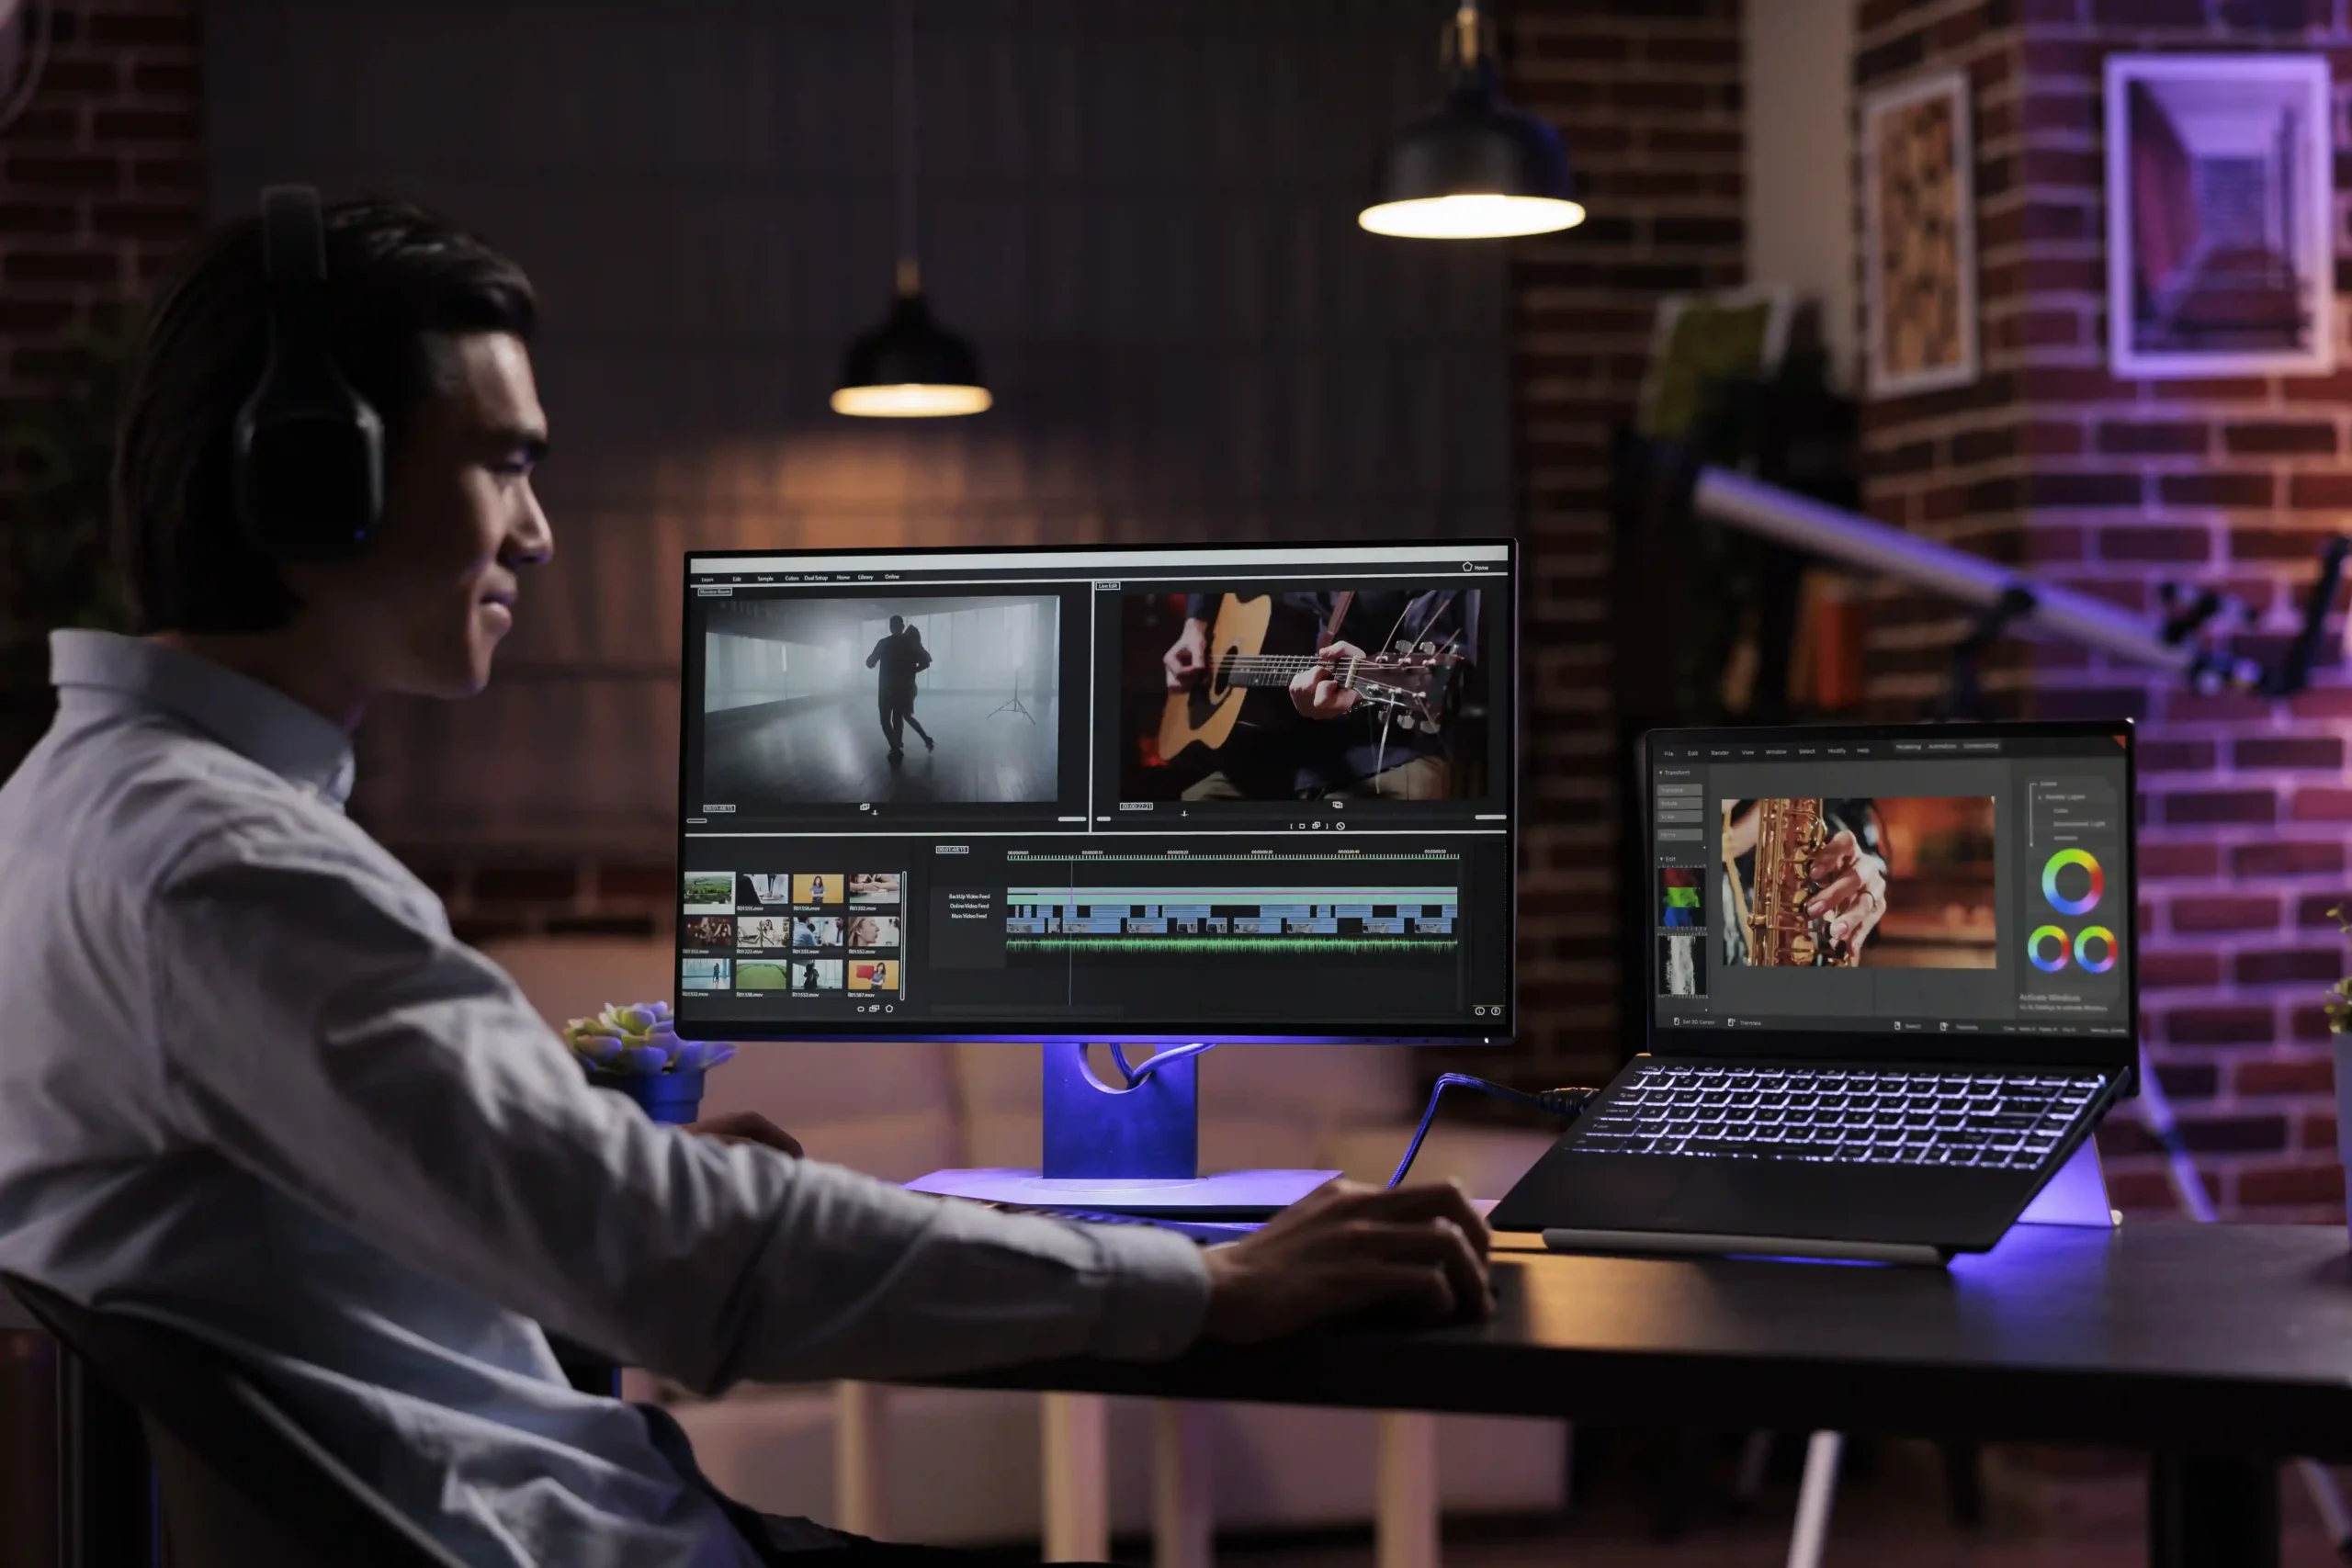
Number one get a large monitor. This one might just seem obvious to many of you, but editing is undeniably more enjoyable when you have more space to work with. For me, it’s night and day working from my laptop compared to working on my bigger 27-inch display in my office, and most of the time I actually use both displays so I can view two apps at once, like my notes or a Google doc on one display and DaVinci on another. My most ideal workspace is a three-monitor setup, so currently I use the Apple Studio Display and the reason I love this thing so much is because I can plug in three additional drives to my computer because of the additional USB-C ports, something I wasn’t able to do with my other monitors.
Virtual Desktops
Number two virtual desktops. If you’re only using one desktop view for all of your applications, you are doing it wrong. In both Windows and Mac, you can create virtual desktops to better organize your workspace on the Mac operating system. These are called spaces. All you do is initiate mission control and add another desktop in the top. Right now you can jump between these spaces. In macOS, you can use three fingers on your trackpad to swipe between spaces, or you can use the default shortcut control plus left and right arrow keys. I program these buttons on my mouse to activate these shortcuts to make things even easier for me. Now you want to use these spaces or virtual desktops on your operating system in order to better utilize your screen real estate so I can have DaVinci Resolve open in one space and have a Google Doc open in another, and then Ableton in another space. This feature is really important for me in my workflow.
Finder Sidebar
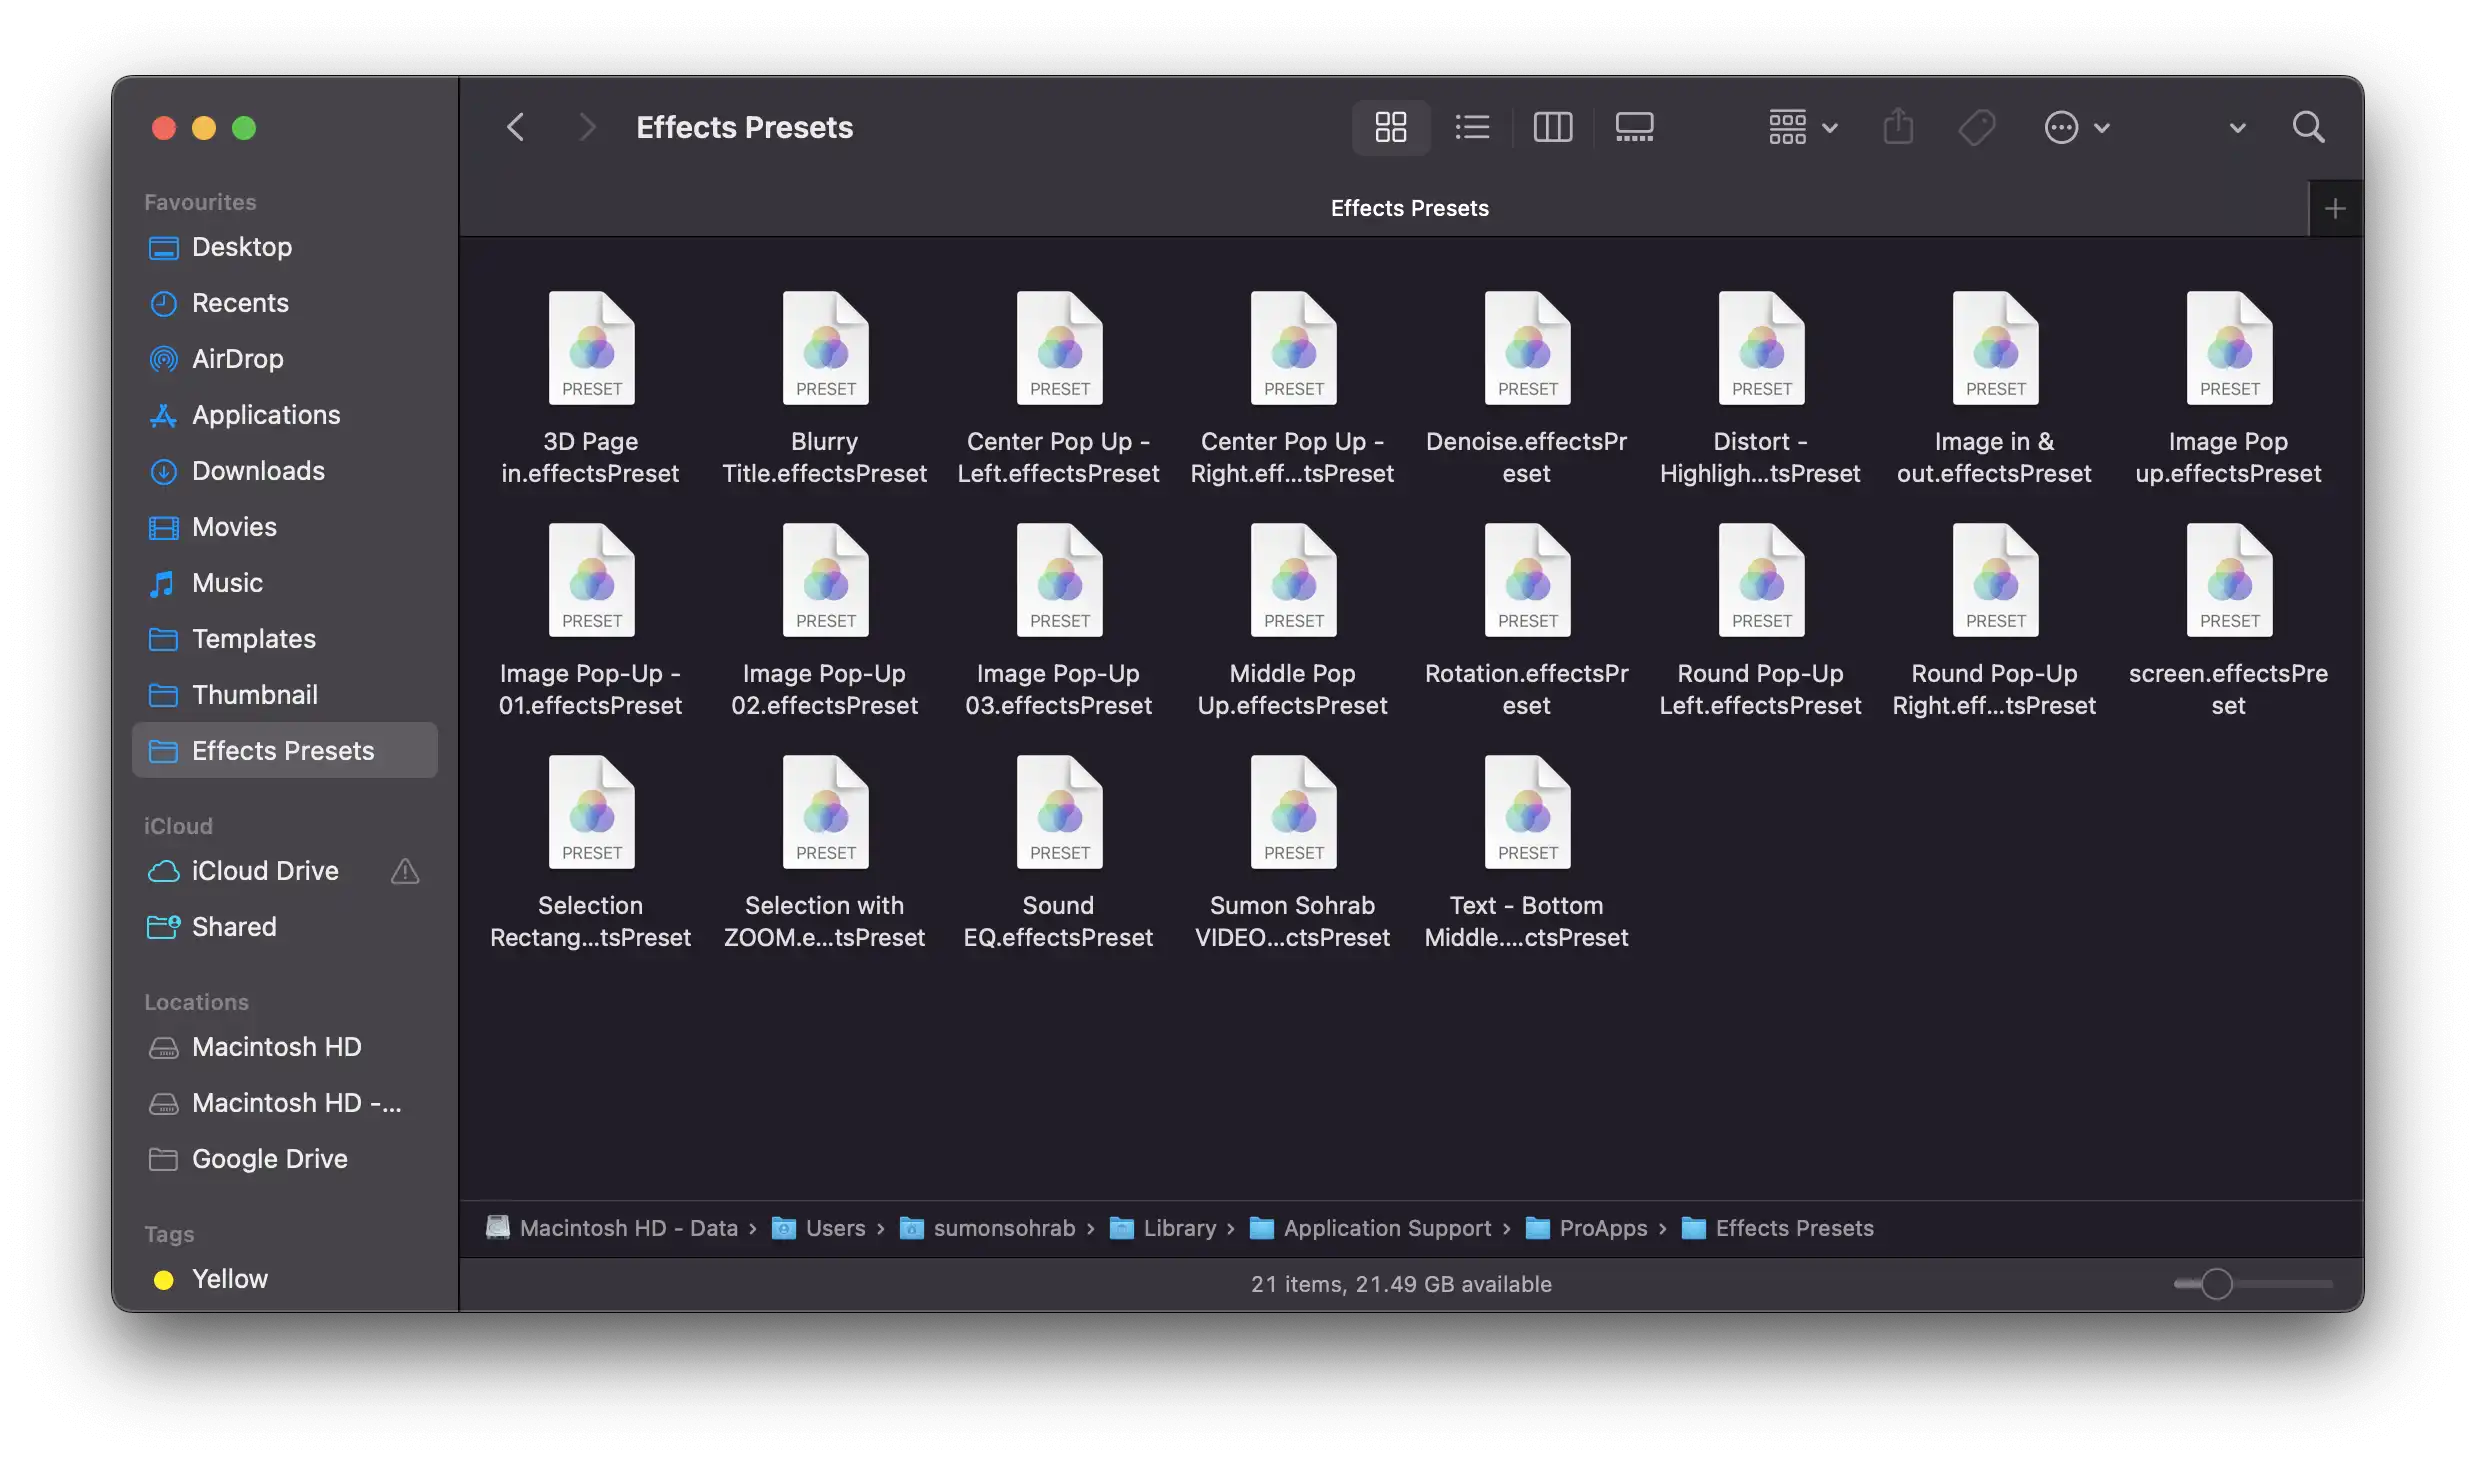
Utilize the finder sidebar. Got a folder you’re constantly going back to during a project. Maybe it’s a specific folder for footage or an export folder. Stop manually navigating to that folder every time you need to find it. Just drag the folder to the sidebar. Now every time you open up a new finder window, or you want to import clips to a project, that folder will always be there on the left sidebar. When you’re done having to consistently access that folder, you can simply right-click on it in the sidebar and remove it.
Rename Exports
Don’t ever manually type out the full name of the export again. After each go, just double click the name of the previous export and the name will automatically be applied up above. Then you can add v2 or v3, whatever version it is to the end of the name, and you’re good to go.
Know Your Footage
What I mean by this is go through the process of making selects of each day or segment of your shoe. I like to separate each day into its own timeline and make my selects from there. This just means cutting out all the stuff that’s clearly not usable, or deleting duplicate takes, and just deciding on the one that I want to keep. From there, I’ll copy all of the selects and paste them further down the timeline and refine them one more time. This is the process of refining your selects and extracting all of those best moments. Sometimes I’ll do this whole process a third time, and by the end of it, I’ll have a condensed sizzle reel of all the absolute best moments from that one day. So now when I want to pull clips from my main edit, I’ll just reference that little sizzle reel to quickly find all the absolute bangers. The great thing about this is I still have all the footage from that day over to the left, in case I need something that didn’t make it to the end.
Smart Bins / Search Bins
Use smart bins, also known as search bins although I do recommend making sure your media pool always stays organized. Sometimes I just don’t feel like constantly having to move files around to stay organized. Smart bins in DaVinci or search bins in Premiere Pro solve this problem. Let’s say all of my timelines are scattered amongst many different folders in my project. Ideally, I’d like them all to be in one folder. Well, what I can do is create a new smart bin, tell it what I want inside of it. Just like that, I have a folder with all the timelines in my entire project, and I can do this with pretty much anything. Let’s say I want to make a folder with only clips shot at 60 frames per second. Now I have this one specific folder with all the clips in my project that were shot at 60 frames per second.
SSD
Edit off of solid state drives, not hard drives. Although solid state drives or SSDs are typically more expensive, they’re more reliable because they don’t have any internal moving parts, so there’s less chance they will break in the long run, and the transfer speeds are a lot faster. This means your editing software can read and write from those drives faster, allowing the editing process to move much more seamlessly. Now, I still always recommend backing up your project on a secondary drive, and for that, it’s totally fine to use a slower hard drive as you’re not editing off of that drive, but you’re just using it as a backup for your files.
Custom Keyboard Shortcuts

Use custom keyboard shortcuts. So first of all, do not use the default keyboard shortcut layout that comes with your software. With every program Premiere Pro, Final Cut Pro, and even DaVinci Resolve, I found that the default keyboard shortcut layouts are poorly thought out, and I would not recommend anyone use those. Many of these shortcuts require you to use both hands and cover the span of your entire keyboard. This takes up a lot of time in the long run, and you’ll find that you’ll constantly have to take your right hand on and off of your mouse or trackpad. It’s little things like this that may not seem like they take up too much time in the moment, but over time they add up and add a lot of time to your overall workflow.
Gaming Mouse with Programmable Buttons
Get a gaming mouse with programmable buttons. Getting a gaming mouse for me has been huge for my overall workflow. Not even just with editing, but for my computer operating system, for music production, for pretty much any program that I’m working in, getting a mouse with programmable buttons has been huge. Because of the additional programmable buttons, I essentially never need to take my hand off of my mouse when editing, and it allows me to perform certain tasks much faster. Let me give you an example. I’ve set my scroll wheel to also initiate up and down. Just by doing this, I’m able to jump between clips in my timeline using my mouse, and if I hold option or alt, I can now move clips between tracks and if I hold shift I’m able to jump between markers in my timeline. Literally, just for these shortcuts alone, I would say it’s 100% worth getting a mouse before using a mouse.
So that’s it for this article. If you enjoy this article, make sure to share this article. I’ll see you in the next one.

