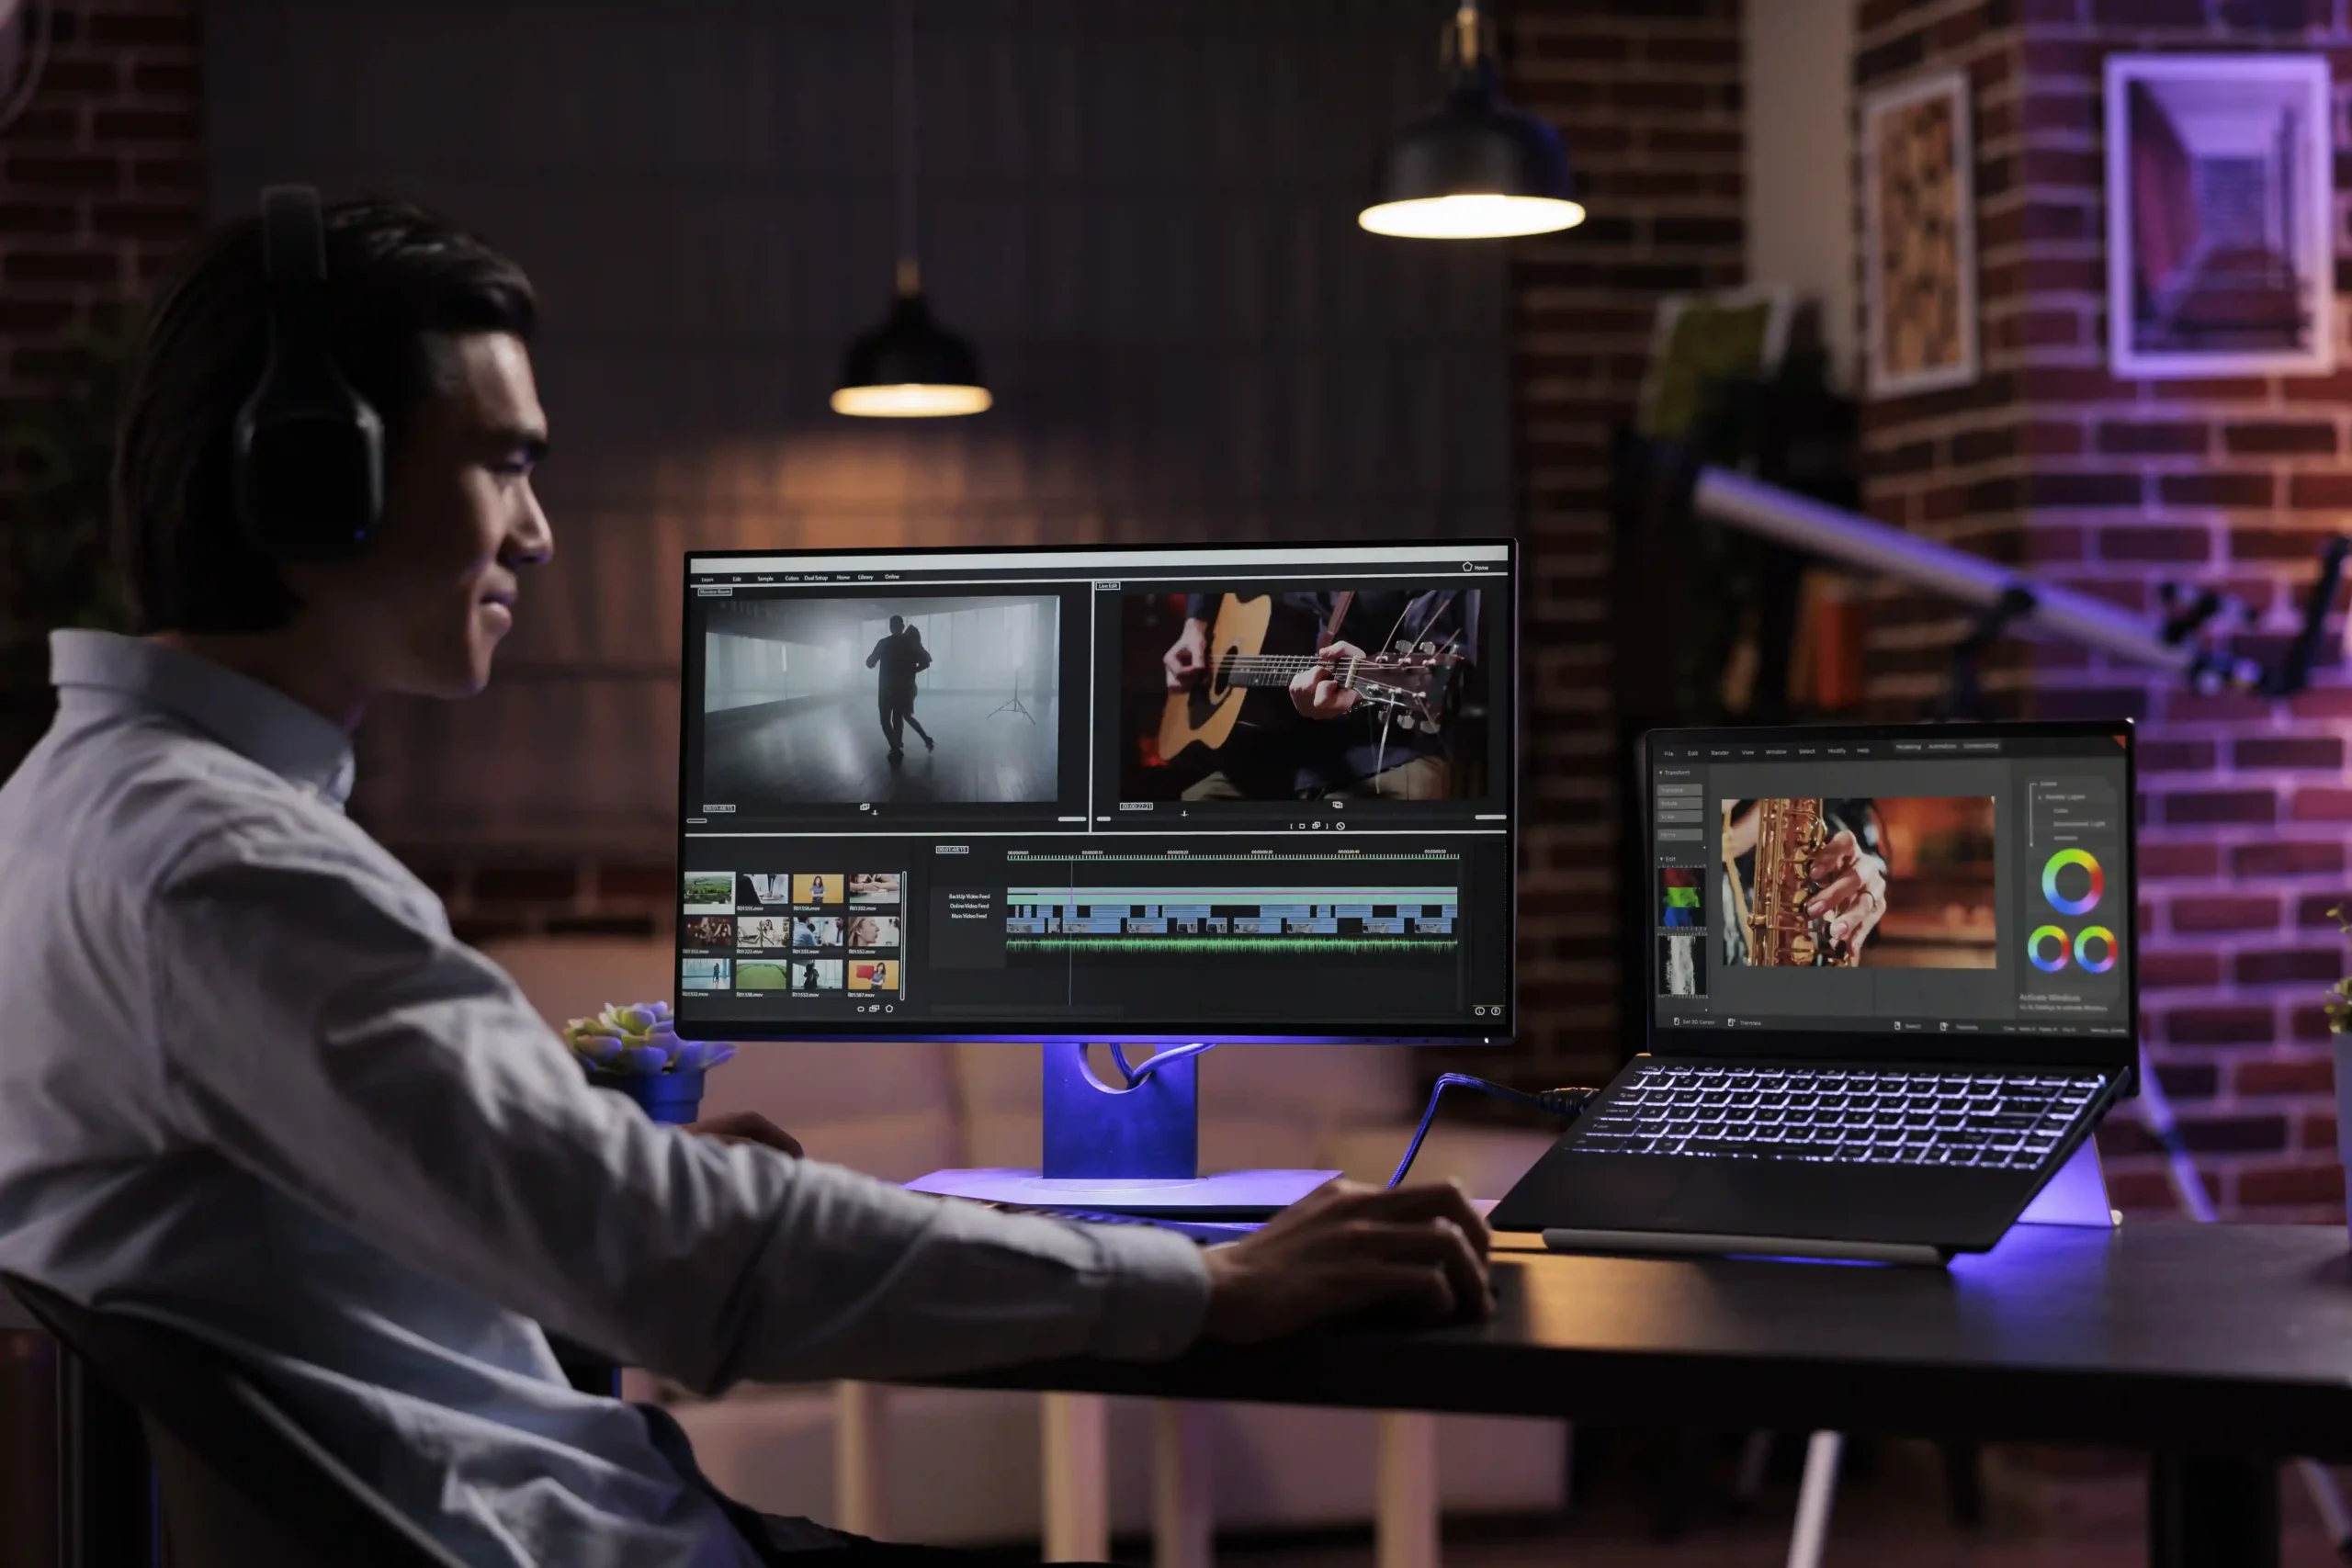
Do you want to edit videos so good that your viewers can’t stop watching them? At its most fundamental, video editing is taking a bunch of clips, cutting, and putting them together. But where and when you add the cut determines if a video is good or bad. I want you to think about something good that happened in your life. Now I want you to try and put that event or day in a video. You might be imagining different scenes, different shots, a lot of camera angles, and some sound effects. Right? Let’s say you put them all together. Do you become a video editor? Well, technically yes, but not a good one. Video editing is like problem-solving, and the more you understand the fundamentals, the easier it is to solve the problem.
According to me, a good video editor is someone who can make an idea come to life. So in this video, I will tell you eight tips and techniques that you can use to edit videos like a pro.
1. Match Cut
So the first tip is to use match cut in your videos. A match cut is when you cut between two shots that share a similar action. Framing or composition A match cut acts like a transition that takes something from the previous shot and matches it in a way that gives a seamless flow into the next establishing shot, forming a connection between them. There are six match cuts that every video editor needs to know.
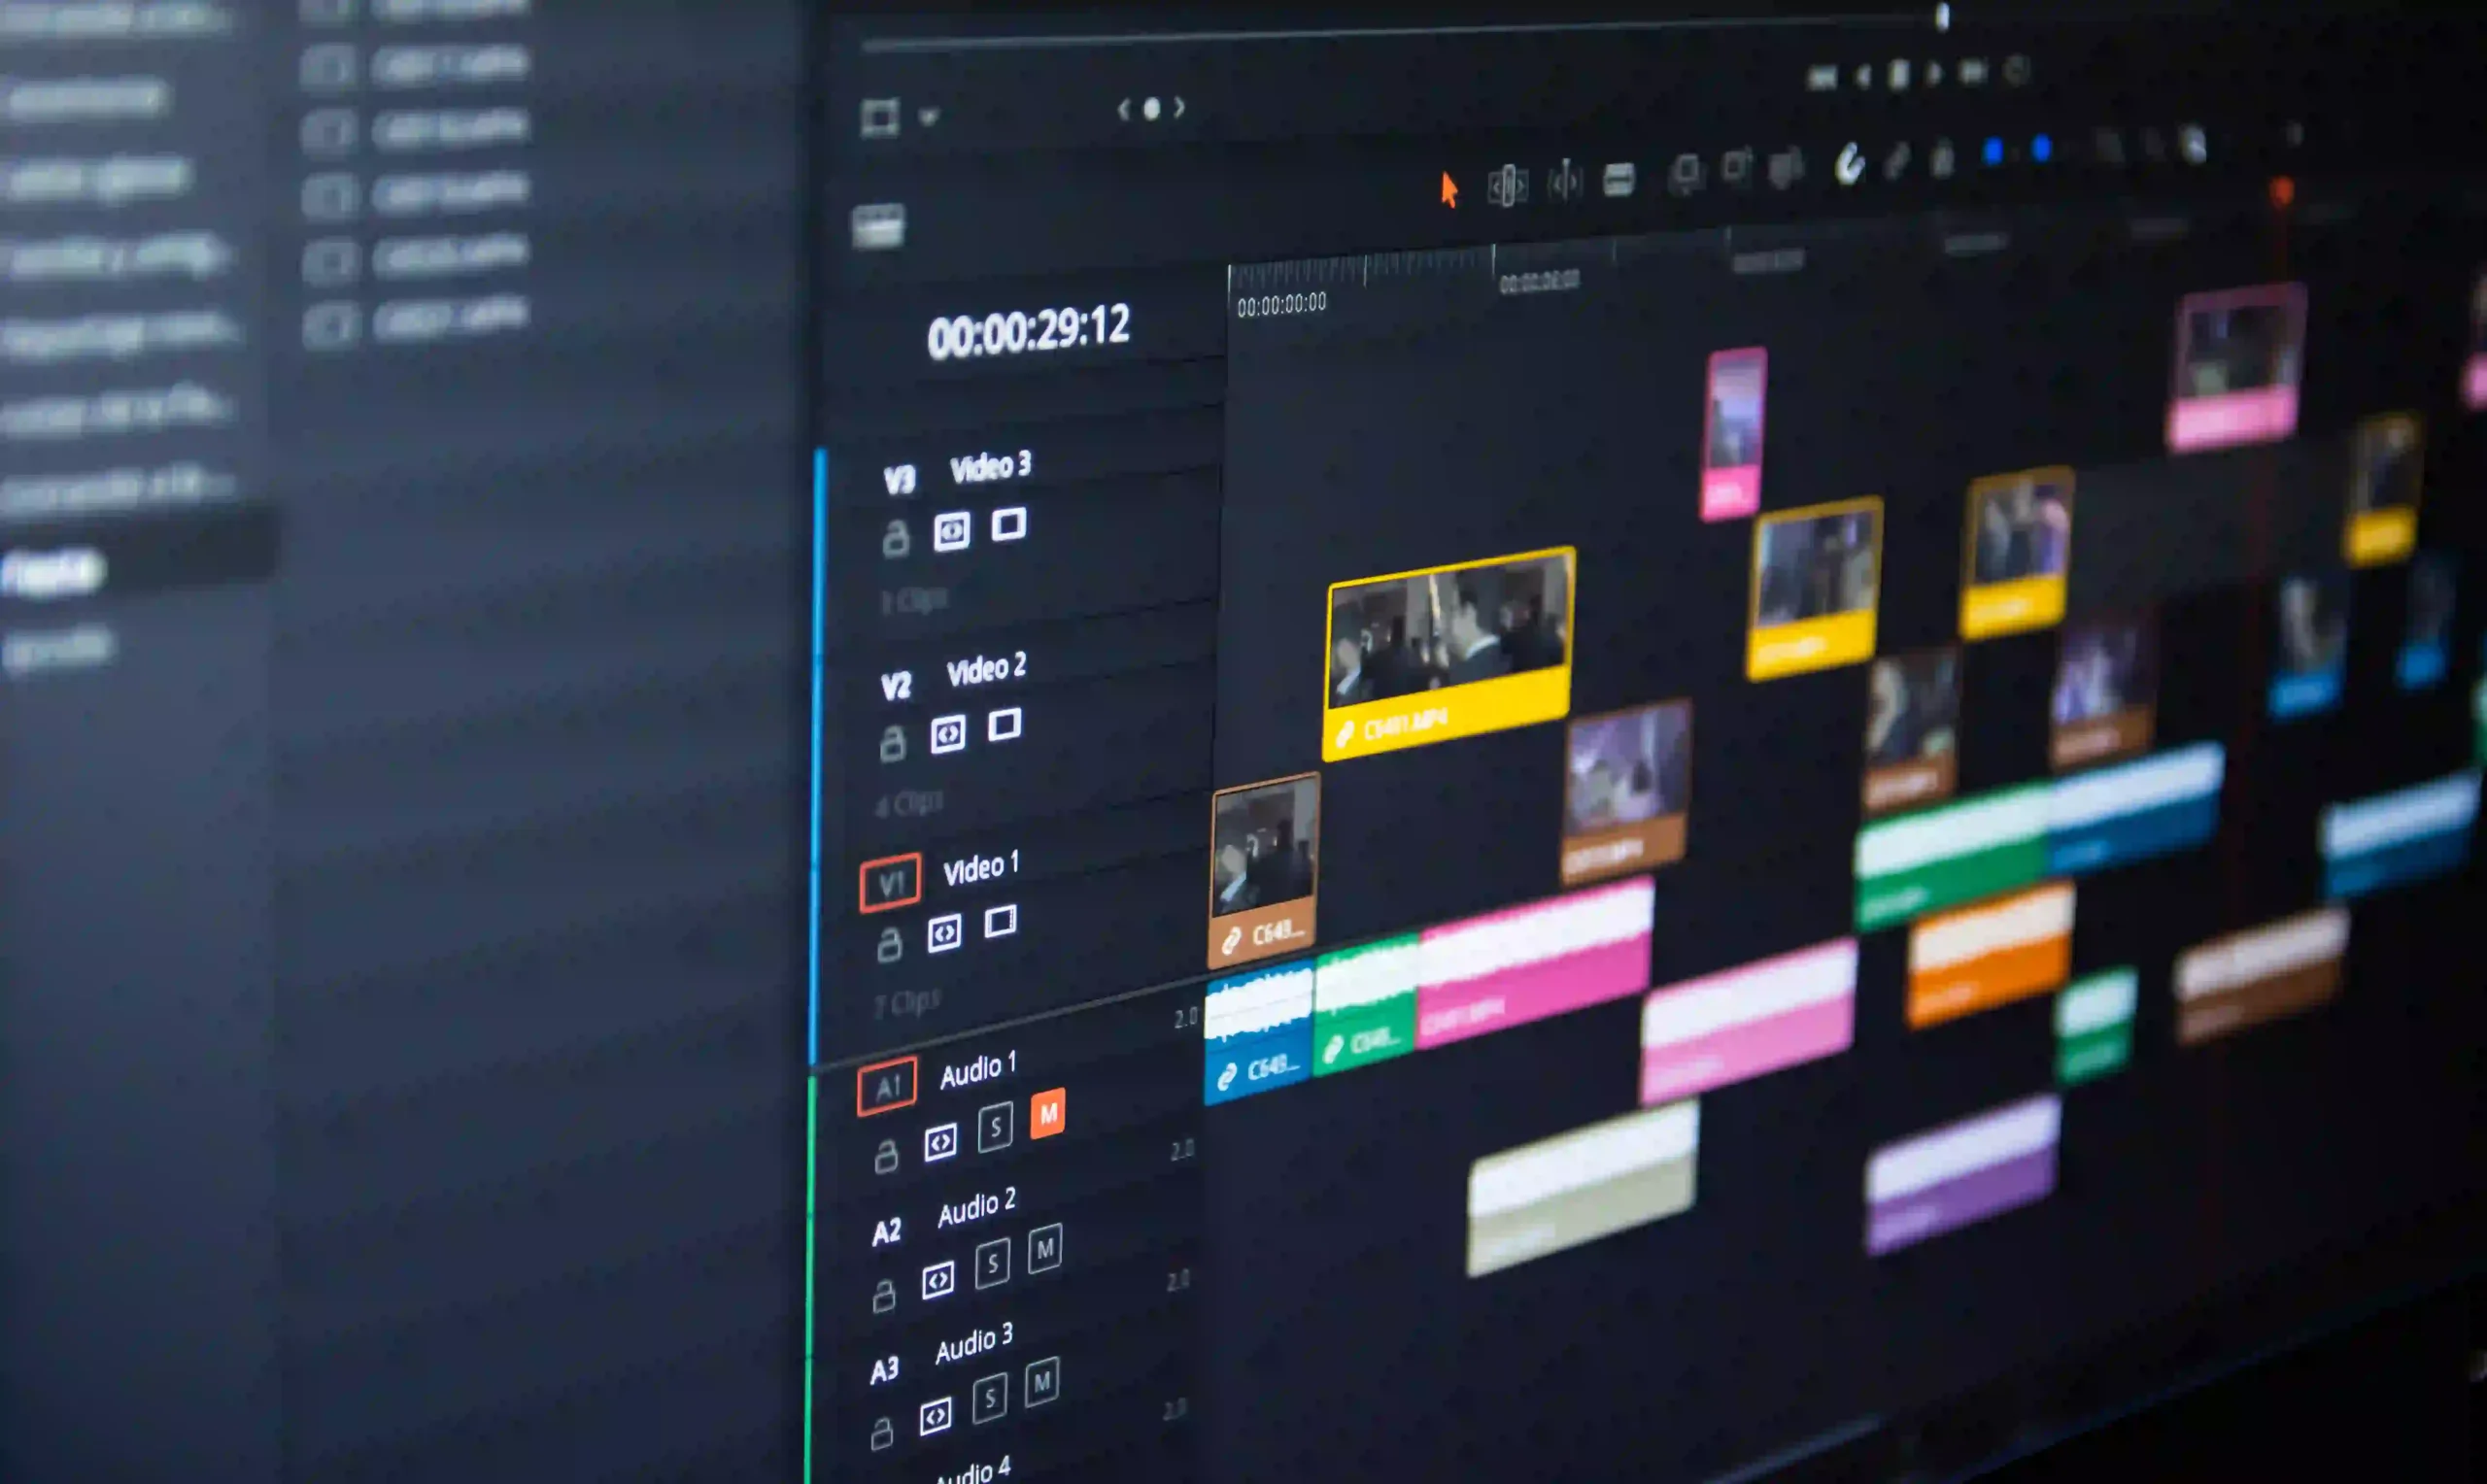
The first one is a graphic or visual match cut. It aligns visual elements or shapes of an object in consecutive shots for a smooth transition. Second, we have an action match cut. It continues movement or action from one shot to the next, keeping the narrative flow. Third is the color match cut. Color match cut repeats specific colors across shot making transitions visually seamless. Fourth is sound match cut. The sound match cut or sound that uses audio from the previous shot into the next shot to transition smoothly. Fifth is a direction match cut a direction match cut uses screen direction to create a smooth flow from one shot to the next, and the last one is the idea match cut. They are a bit unique because they connect shots through metaphorical elements or themes, connecting ideas and adding depth to the story. Learning these six match cuts can help you convey better stories.
2. Cutting on Action
The second technique is cutting on action. Picture this you have got two clips capturing the same action but from two different angles. Now, if you cut them right in the middle where the action is happening, you will get a seamless merge. For example, to go from a medium to a wide shot, or from a wide to a closeup. Not only does it make your transition more smooth, but it also intensifies the excitement, especially in fight scenes. Whenever we are watching a fight sequence, there is a cut right before the punch lands. It not only creates a seamless transition but also leaves an impact on the viewer.
3. Speed Ramp
The third tip is using a speed ramp. Speed ramp is when you take footage at regular speed and smoothly transition it to slow motion or opposite, take a slow motion clip and gradually transition it to speed. You can see videos with speed ramps everywhere on the internet these days is highly effective. When you are creating a montage speed ramp can really add some spice and engagement to your videos. Whether you are a beginner or a pro, it is a simple technique that you can master in no time. A good tip for speed ramping is to combine it with sound effects for the best outcome.

4. J and L cuts
The next tip is to use J and L cuts in your videos. You might have watched scenes where the audio from the first clip continues to the second clip. This trick is commonly used in dialogues. You will often see one person talking, then it cuts to the other person listening before they start talking. Learning with CRG English Prime enables your workforce to be more productive, more collaborative, and ultimately more successful. English Prime is a multi-award winning platform that puts interactive media. Now that J cut is opposite to the L cut, the audio from the clips begin even before you see the visuals. This smoothly guides the audience to the next scene. J card is widely used in movies to move into a completely different setting. This helped the movie or the idea flow better. The J and L cut work really well to build tension or to leave your viewer on a dramatic note, these cuts got their name by how they look on the timeline. A J cut makes a J shape on the timeline, whereas the L cut makes a L shape.
5. Jump Cuts
The next tip is to use jump cuts and camera movement. A jump cut is a cut that breaks a single, continuous, sequential shot of a subject into two parts, with a piece of footage removed to create the effect of jumping forward in time. Jump cuts can be used to show the journey of a character in time, but jump cuts can look a little abrupt and unpolished. That’s why the best way to use jump cuts is to have your camera on a tripod. This way only the subject will move and not the background. For example, I use jump cuts in my videos because I make a lot of mistakes. Now to remove them, I just create a cut and then delete that part And to make it less abrupt, I add a fake camera movement and zoom in on the shot. You can see the use of jump cuts a lot in talking head videos, because in the industry, jump cut is considered to be unprofessional. People use B-roll or multiple camera angles to hide it.
6. Invisible Cut
The next technique is adding an invisible cut. Invisible cut can be added using masking or rotoscoping. You can use an object moving past the screen to create an invisible cut. You won’t spot the cut because it is cleverly hid on a all white or all black frame, or it can also be masked behind a fast-moving object in the foreground. Now, because this technique creates a seamless transition, it is used a lot in movies and videos to show an ongoing effect or create an illusion of a one long shot. For example, in the Academy Award-winning movie 1917, people thought there were no cuts, but actually, there were a total 34 invisible cuts in the movie.
7. Cross Cutting
The next technique is called cross cutting. This technique involves switching back and forth between two actions or locations, and it can make it look like that both the scenes are happening at the same time. Cross cutting is not just about switching scenes, it’s about building tension, anxiety, anticipation, or intensity within the narrative. As the tension rises in both scenes reaches the climax, the scene ends with a rapid back and forth between the two locations.
8. Combine Together
The next tip is to combine all these techniques together. Top 1% of video editors not only know when to use these techniques and also use them well, they also combine these together. For example, speed ramps plus cutting on action camera movements plus general cuts, masking plus speed ramp. You can also combine other techniques if you want.
A Few points to remember while using these tips and techniques.
- First is that don’t overdo it. The quantity and the amount of techniques you use depends on the editing style you are going for. Over using any type of cut or transition can make your video look like less polished and less professional.
- Second is you don’t always have to use this. You can just use a simple clean cut. A clean cut is when you create a simple cut between two clips. You can use this to go from a wide to a medium shot, or back and forth between two over-the-shoulder dialogue shots. But remember, while using a clean cut, you need to follow the 30 degree rule, which states that the second clip should be shot from an angle at least 30 degree away from the first clip. If you don’t follow this 30-degree rule, the clean cut will look more of a jump cut. If you don’t change the angle, try to change the focal length or you can also add fake camera movement.
- Next is try to minimize jump cuts as much as possible. Anyone who has been in the industry long enough understands that using jump cuts can look unprofessional, and that’s why you should try to avoid jump cuts as much as possible You can use any graphics or B-roll to cover it in.
- The last point is to be creative and try everything on your own. What has worked for others might not work for you. There are no hard rules in video editing, so according to the editing style, you can decide what kind of cuts and transitions you want to use.
So there you have it. These are the eight tips and techniques that you can use to become a better video editor. Applying these techniques will surely improve the quality of your videos. Make this article your guide and keep coming back to it to refresh your fundamentals.

